In order for your central air conditioner to work properly, you must install it as exactly as recommended by the manufacturer. For this reason, we strongly recommend that you hire an experienced HVAC technician, to install for you. If you are however the adventurous type, you can then handle the installations, but with some help.
Step 1: Positioning the Indoor Unit
The indoor unit’s location is critical as it determines how well the unit will function. It is therefore advisable to pick a place with no obstacles (furniture, pipes, electronics, etc.) that could affect proper circulation of air, or even cause a headache for proper installation.
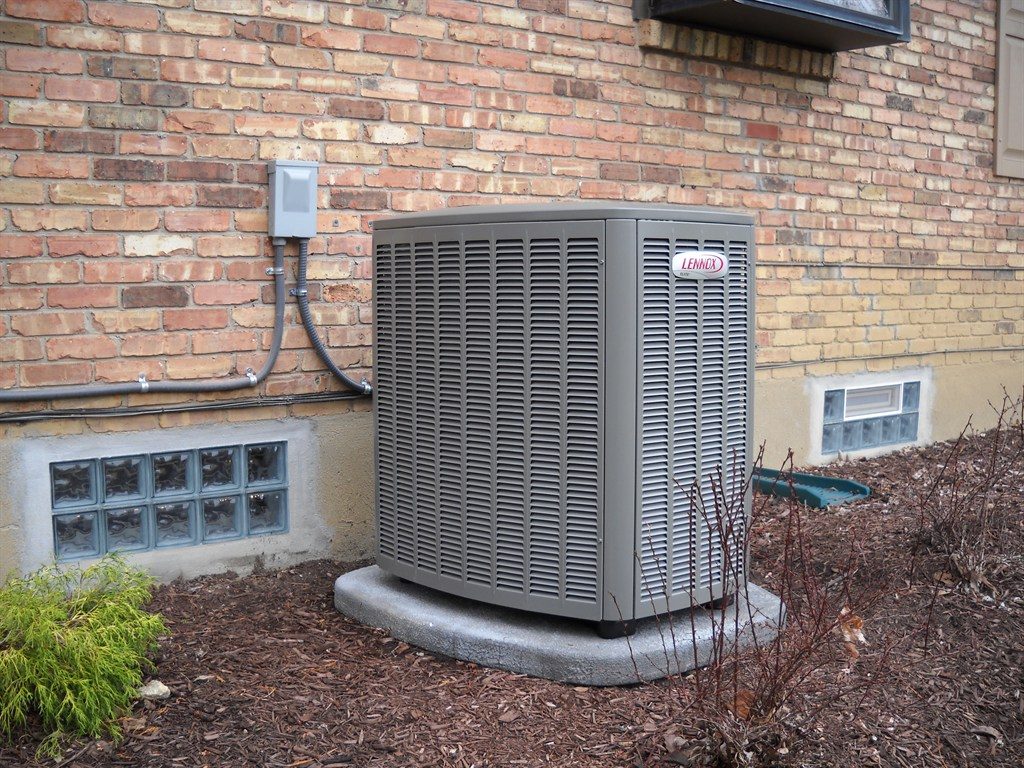
Step 2: Setting Up the Outdoor Unit
The same principle (in point one) should be followed when choosing the right location to set up the outdoor unit. Most importantly, there should be plenty of room to allow the unit to function adequately and efficiently. Although the outdoor unit may be designed to withstand any weather, it would be advisable to shield it from direct sunlight. In addition to this, the unit’s huge fans should face away from the house into an open space for optimal performance. Another important factor to note is that the unit should be placed on a flat surface to avoid tipping over.
Step 3: Bend the Copper Pipe
Care should be taken when bending the copper pipe. Examine the pipe first to determine the best way to bend it. Carefully remove the insulation, and then use your thumb to bend the pipe. This should be done slowly and carefully to avoid breaking the tube. Once bent to the required position, re-insulate the pipe using the remaining insulation material (previously on) and a waterproof tape as well. Secure the entire piece in readiness for the next step.
Step 4: Installing Water Drain Pipe
At the end of the drip tray is the water drain pipe. Attach the drain pipe with the other end of the plate using the rubber part. The drain pipe should be correctly positioned to allow water to flow away from the unit automatically. Most of the collected water is due to the system’s air cooling process that condenses hot air into water. One notable fact about this is that a cooling unit can produce approximately 5 pints of water especially in hot and humid days.
Step 5: Connect all the Pipes
This is the most important and final step for installing an air conditioner. You need to connect all the pipes as required to facilitate proper cooling and efficiency. To do this, you will need to connect all the pipe facings to the brass cones. You can make this easier by adding a few drops of oil on the facings to reduce friction and make it possible to tighten the joint using a wrench.
Once all the pipes have been properly connected, you will then need to insulate all the connecting parts to avoid heat leakage. You also need to ensure the pipes don’t leak; otherwise, the refrigerant will leak off. Cooling unit manufacturers provide a detailed guide on how to fix everything up for optimal performance – be sure to follow these. Once everything is done, you can then turn the air conditioning unit to enjoy a cooler home.